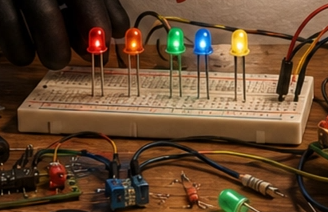
Blink LED
The classic "Hello World" of hardware — blink a single LED on a Raspberry Pi using Java and Pi4J.
Blink LED
Every programmer knows the classic "Hello World" as a first step into a new language. In the world of hardware and electronics, the equivalent rite of passage is making an LED blink. It is simple, satisfying, and it proves that your code is actually talking to the physical world.
In this project we blink a single LED connected to a Raspberry Pi using Java and the Pi4J library.
Read the full article on dev.to: LED Blink: Hello World
Source code: projects/blink-led/BlinkLed.java
What You Will Learn
- How to set up Pi4J for GPIO control
- How to configure a digital output pin
- How to turn an LED on and off from Java
- How to introduce delays to create a blinking pattern
Components
- Raspberry Pi
- 1 LED (any color)
- 1 × 220Ω resistor
- Breadboard
- Jumper wires
Wiring
- Connect the longer leg (anode) of the LED to a GPIO pin on the Raspberry Pi through the 220Ω resistor.
- Connect the shorter leg (cathode) of the LED to a ground (GND) pin.
- Double-check the polarity before powering the Pi.
The resistor is important — it limits the current going through the LED so it does not burn out.
How It Works
The program uses Pi4J to configure a GPIO pin as a digital output. Inside a loop, it sets the pin to HIGH to turn the LED on, waits a short period, then sets it to LOW to turn it off, and waits again. Repeating this cycle produces the familiar blinking effect.
Changing the delay values changes the blinking speed. Shorter delays give a faster blink; longer delays give a slower blink.
Possible Enhancements
- Blink multiple LEDs in sequence
- Create Morse code messages with the blink pattern
- Use PWM to fade the LED in and out instead of a hard on/off
- Control the blinking with a physical button
- Blink at a rhythm that matches music
Why It Matters
Blinking an LED may look trivial, but it is the foundation for every physical computing project. Once you can control a single pin, you can control motors, relays, sensors, displays, and much more. Every ambitious IoT project starts with this humble first blink.